Getting wired
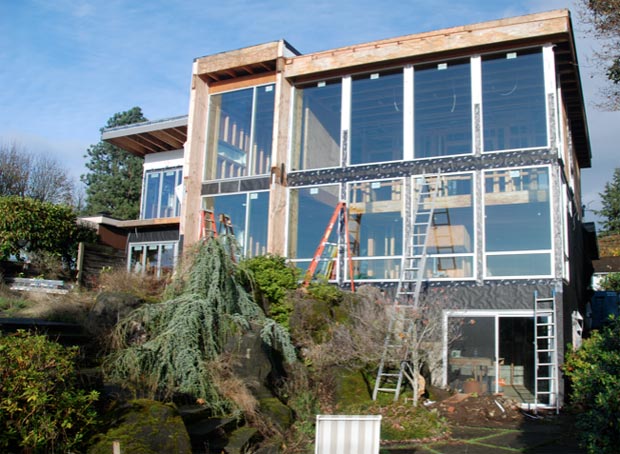
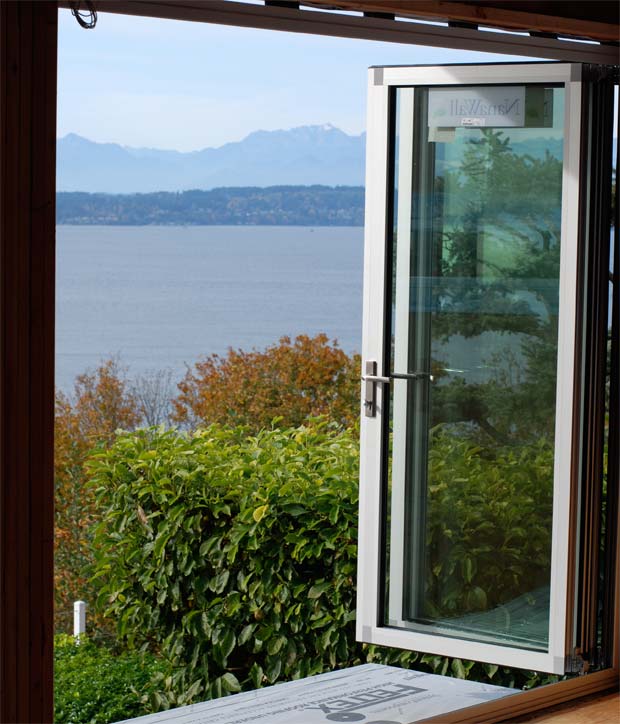
This is shaping up to be a pretty exciting week, with windows, Nana walls, and the metal roof all going in simultaneously. While there hasn’t been much to see on the livecam over the last month, action should pick up strongly today. The house should be more or less weatherproof by Friday!
Meanwhile, one of the most interesting aspects of the house has been coming together over the last several weeks: the electrical rough-in. Wire by wire, Tom Bell and the team at Thomas Bell Electric have been outfitting every nook and cranny of the house with lighting cans and future-proof circuitry. Tom’s original contract was to just do lighting and high voltage work, but the crew has done such a good job — and at a reasonable price — that I’m having them do low voltage and security system wiring as well.
So, onto the details…
Data
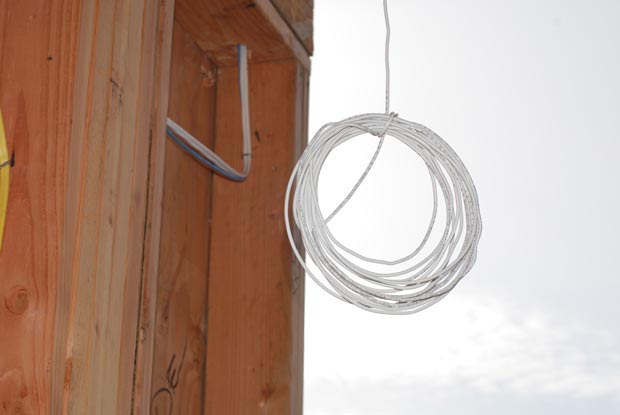
There are a few options for dealing with your house’s internet/data connectivity these days: cat 5e cabling, cat 6 cabling, fiber, and wireless. Several years ago, cat 5e was the standard as it supports up to about 350 Mb/sec. Cat 6 is a bit faster and supports gigabit transfer rates, but the downside is that you can’t run your telephone connection through it, as you can with cat 5e Turns out you can! Thanks Karl!. Fiber is the fastest option, but it’s even more expensive and it’s debatable when it will provide a clear advantage over cat 6. Wireless is the easiest and cheapest option, and it’s what most people choose when remodeling or trying to otherwise retrofit a house without mucking around inside the walls. Wireless is currently plenty fast enough to handle everyday internet connectivity, but topping out at about 50 Mb/sec, it’s far below actual cabling. Wireless connections are also inherently less secure than hardwired connections.
In order to stay reasonably future-proof at an affordable cost, we went with one cat5e and one cat6 to almost every room in the house. Additionally, there will be enough wireless base stations around the house to get a signal wherever you happen to be (probably two).
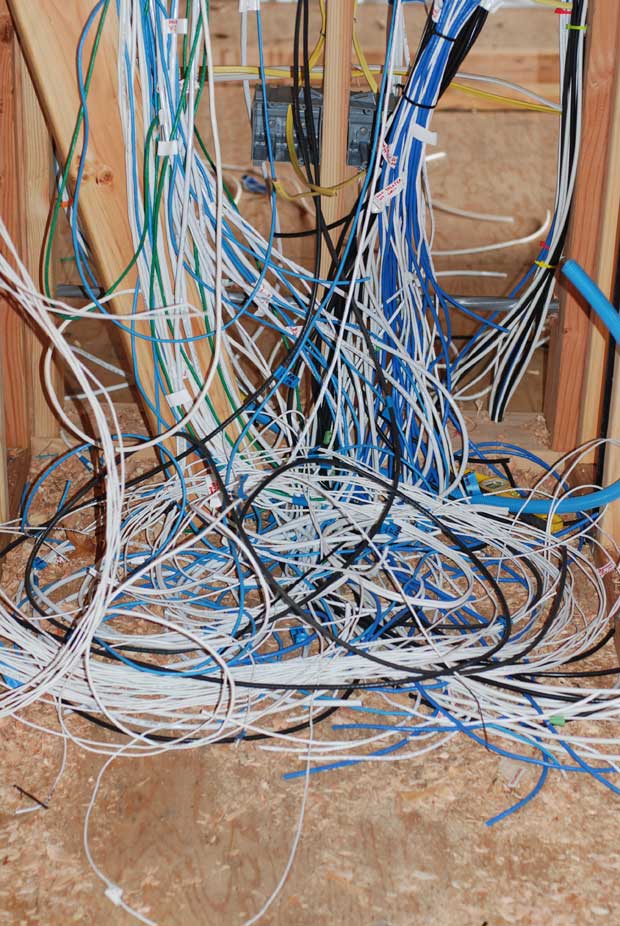
I did not even have a wide enough angle lens to capture all of the wiring in the control closet. Here is a sample.
Video
For TV signals, the only game in town is still good old fashioned RG6 (coaxial) cabling. Cable TV providers only require one cable per TV/DVR while satellite providers require one cable per tuner (so you’d need to plug two cables into your DirecTV DVR in order for both tuners to operate). For this reason, we are running two RG6s to most rooms and four lines up to the roof in the likely case we go with satellite as the TV source. Note: apparently DirecTV now allows you to use one cable per DVR in their newer systems, but it’s still a good idea to have that extra jack.
Audio
Even though it seems a bit excessive to me, we are wiring almost every room in the house for sound. We’ve opted for the Russound CAM6.6 system with UNO-S2 keypads and mostly Russound Ratio speakers. I spec’d out 15 zones but we’re keeping it limited to 12 for now because for every 6 zones, you need to buy a new (expensive) controller.
What’s nice about the Russound system is that it’s all controlled via IP, it sounds great, and it ties directly into the home automation setup we’re building around Myro (there will be a separate post on this shortly).
Security
I had a security company come out to the property and bid on installing an alarm system for the house, but the results were less than satisfactory. The company wanted a couple of thousand dollars to install everything but would only do it if I signed up for a 5 year monitoring agreement at $41 per month. That just seems really excessive to me, and I know monitoring can be had for as little as $8.95 a month elsewhere. That combined with the fact that the HAI Omnipro II I’m purchasing already has security capabilities built into it made this alarm company’s offer a no-go. Instead, I’m having Tom run all the security system wires and we’ll just hook everything into the Omnipro ourselves. Big thanks to my friend Danny Mavromatis (creator of Myro), for helping design all of this low voltage stuff and leading me through the maze of products necessary to make all of this happen. And of course, big thanks to Tom and the crew at Thomas Bell Electric for everything they’ve done over the last few weeks.
As you can probably guess, this is an item we’ve overshot our budget on by a substantial amount, but since everything else has come in on budget or below, it seems worth it. Wiring the basement wasn’t part of the original scope and neither was an extensive audio, security, and home automation system, so if this is the one phase we spend a little more money on, I’m ok with it. Technology is more important to me than expensive chandeliers, and it’s also a lot harder to “fix” after the fact, so getting it perfect at this stage is critical.
Costs accrued during this stage:
| Electrical rough-in and installs | $52,384.00 |
| Honeybucket rental | $117.00 |
| Miscellaneous expenses | $95.00 |
Posted in Electrical, Technology | ![]() 11 Comments
11 Comments